When you’re new to photography, your camera’s Auto Mode can be a useful starting point. But it quickly becomes limiting. If you want to take better photos and grow as a photographer, the next step is learning manual camera settings — and using them with confidence.
This article is a complete, step-by-step guide to understanding and choosing the best camera settings for different situations. Whether you shoot with a DSLR, mirrorless camera, or a smartphone with manual controls, you’ll learn how to take full creative control of your images.
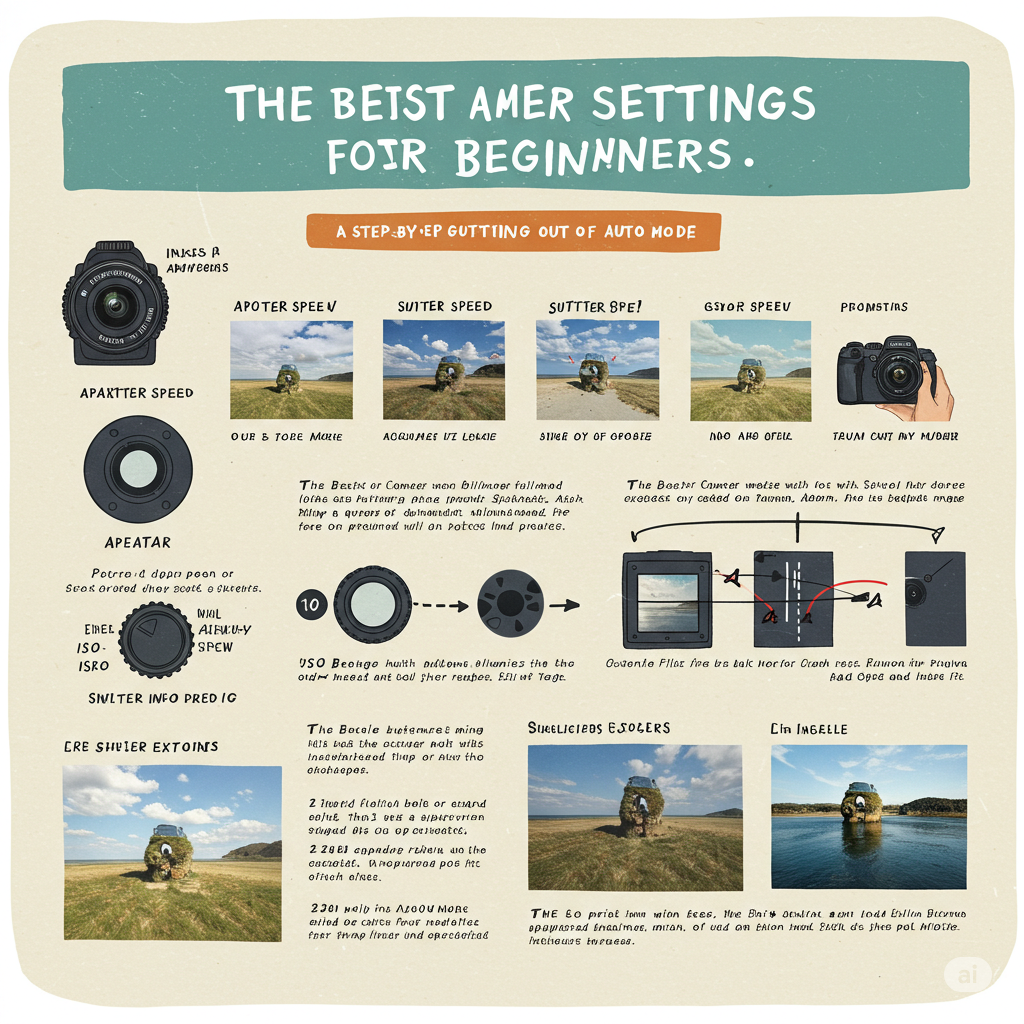
1. Understanding the Exposure Triangle
The foundation of camera settings is the exposure triangle, made up of:
🟡 Aperture (f-stop)
- Controls the size of the lens opening
- Affects depth of field (background blur)
- Wide aperture (f/1.8) = more blur, more light
- Narrow aperture (f/11) = more sharpness, less light
🔵 Shutter Speed
- Controls how long the shutter is open
- Affects motion
- Fast shutter (1/1000) = freezes action
- Slow shutter (1/30 or longer) = motion blur or low light
🔴 ISO
- Controls sensor sensitivity to light
- Low ISO (100) = clean image
- High ISO (1600+) = brighter but grainier
Balancing these three elements gives you the correct exposure and the creative look you want.
2. Camera Modes Explained
Most cameras come with various modes. Here’s what they do:
✅ Manual Mode (M)
- Full control over aperture, shutter speed, and ISO
- Great for learning and precision
✅ Aperture Priority (A or Av)
- You set the aperture, camera chooses the shutter speed
- Perfect for portraits or controlling depth of field
✅ Shutter Priority (S or Tv)
- You set the shutter speed, camera handles aperture
- Useful for sports, wildlife, or motion effects
✅ Program Mode (P)
- Camera suggests settings, but you can adjust them
- Good for semi-automatic shooting
📌 Start with Aperture Priority — it’s the easiest way to leave Auto and still control creative choices.
3. Best Camera Settings by Situation
Let’s look at common shooting scenarios and the settings that work best for each.
📸 Portrait Photography
- Aperture: f/1.8–f/2.8 for background blur
- Shutter Speed: 1/125s or faster
- ISO: 100–400 (outdoor), 800+ (indoor)
📌 Focus on the eyes. Use a prime lens like 50mm f/1.8 for best results.
🌄 Landscape Photography
- Aperture: f/8–f/11 for sharpness front to back
- Shutter Speed: Use tripod for slower speeds
- ISO: 100 (or lowest possible)
📌 Focus one-third into the scene for better depth.
🐦 Action/Sports
- Shutter Speed: 1/1000 or faster
- Aperture: f/2.8–f/5.6
- ISO: Adjust based on lighting (800–3200)
📌 Use burst mode and continuous autofocus (AF-C) to track movement.
🌇 Low-Light or Night
- Aperture: f/1.8–f/4
- Shutter Speed: 1/30s or slower (use tripod)
- ISO: 800–3200+
📌 Stabilize your camera and use manual focus if needed.
🍽️ Product or Food
- Aperture: f/2.8–f/5.6 (shallow depth with detail)
- Shutter Speed: 1/60s or slower
- ISO: 100–400
📌 Use window light and reflectors for best lighting.
4. Understanding White Balance
White balance controls the color temperature of your image.
Common White Balance Presets:
- Daylight: Neutral color (around 5500K)
- Cloudy: Warms up cool light (6000–6500K)
- Tungsten: Corrects indoor orange/yellow tones (3200K)
- Fluorescent: Fixes green/blue indoor light
📌 Use Auto White Balance (AWB) for most situations — adjust in editing if needed.
5. Focus Modes and Techniques
Autofocus Modes:
- Single (AF-S / One Shot): For still subjects
- Continuous (AF-C / AI Servo): For moving subjects
- Manual Focus (MF): For full control, great in low light or product shots
Focus Areas:
- Single-point: Precise, for portraits and detail
- Zone or multi-point: Better for unpredictable motion
📌 Focus on the closest eye in portraits for sharp results.
6. Image Format: RAW vs. JPEG
- JPEG: Small files, easy to share, basic editing only
- RAW: Big files, full-quality, best for editing
📌 Shoot in RAW if you plan to edit seriously. Use JPEG if you’re shooting casually or for quick sharing.
7. Metering Modes
Your camera uses a metering system to determine correct exposure.
Types:
- Matrix/Evaluative: Balanced, good for most scenes
- Center-Weighted: Prioritizes center
- Spot: Measures light at one focus point
📌 Use Matrix for everyday shooting. Use Spot for backlit subjects or creative lighting.
8. Stabilization and Sharpness Tips
To avoid blurry images:
- Keep shutter speed at least 1/your focal length (e.g., 1/100s for 100mm lens)
- Use tripod or image stabilization for slower speeds
- Use self-timer or remote to avoid shake
9. Test and Review Your Shots
After taking a photo:
- Zoom in to check sharpness
- Look at highlights and shadows
- Check histogram for exposure accuracy (optional but helpful)
📌 Don’t trust the screen brightness — always review your image closely.
10. Practice Exercises
Exercise 1: Aperture Practice
- Shoot the same subject at f/1.8, f/5.6, and f/11
- Compare depth of field and background blur
Exercise 2: Shutter Speed Test
- Capture a moving object at 1/1000, 1/250, and 1/30
- See how motion changes in each
Exercise 3: ISO Challenge
- Take the same shot at ISO 100, 800, and 3200
- Review differences in brightness and noise
Final Thoughts: Master Settings, Not Just Gear
You don’t need the most expensive camera to take stunning photos — you need to know how to use the settings you already have.
Start simple:
- Master Aperture Priority first
- Experiment with ISO and shutter speed
- Review your results and learn from each session
With regular practice, adjusting camera settings will become second nature — and you’ll unlock full creative control over every image you take.