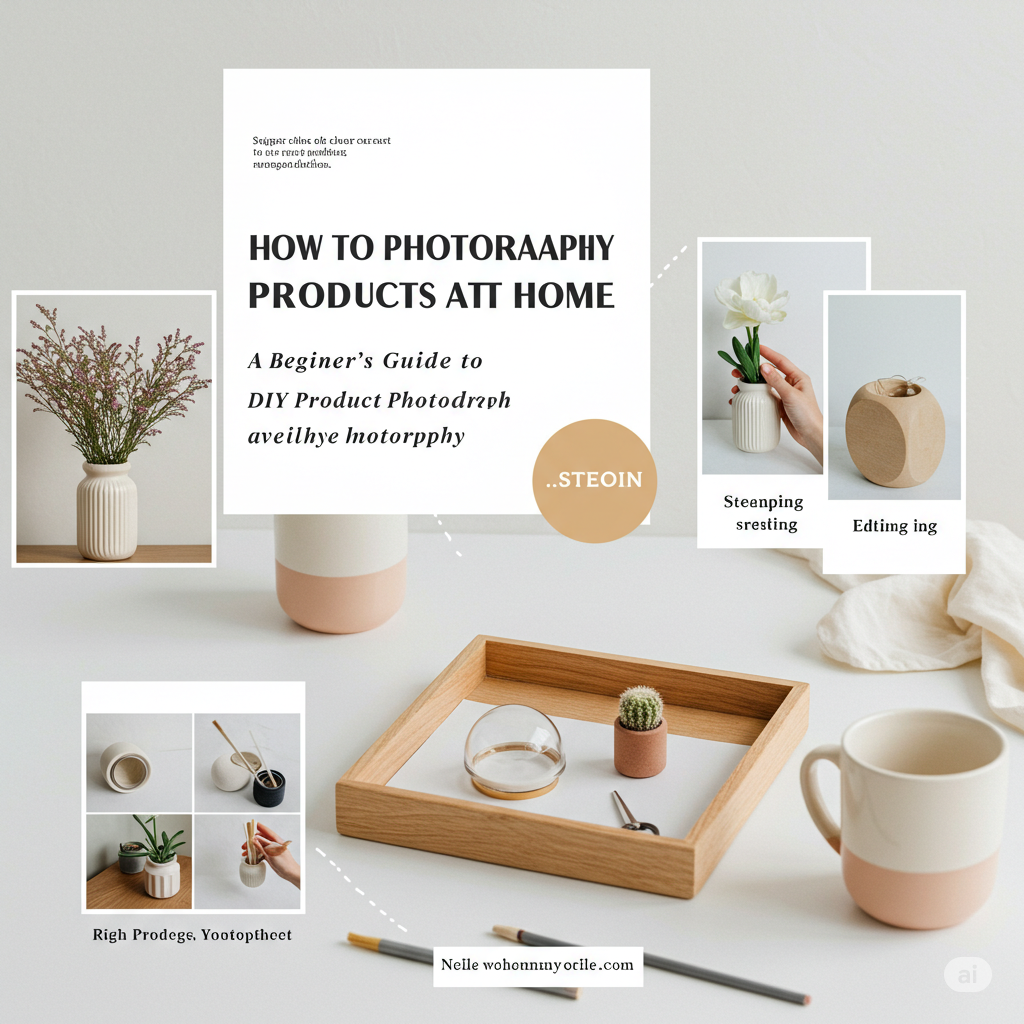
You don’t need a professional studio to take high-quality product photos. Whether you’re selling items online, building an e-commerce brand, or promoting handmade creations, you can take sharp, clean, and attractive photos — right from your home.
In this guide, you’ll learn how to create stunning product photography with minimal gear. Perfect for beginners, this approach helps you showcase your products in the best possible light without breaking the bank.
1. Why Good Product Photos Matter
High-quality product photos help you:
- Increase sales
- Build trust with your audience
- Look professional, even if you’re just starting out
- Stand out in crowded online marketplaces like Etsy, Amazon, or Instagram
📌 People can’t touch or hold your product online — photos do the selling.
2. What You Need to Get Started
You don’t need a fancy studio. Here’s a simple, affordable setup:
Basic gear:
- Camera or smartphone with a good lens
- Tripod or something stable to hold your camera
- Natural light source (e.g., a window)
- White foam board or reflector
- White background (poster board, sheet, or photo box)
- Optional: Tabletop lightbox, LED panel, diffusers
📌 Consistency is more important than expensive equipment.
3. Choose the Right Light Source
Lighting is everything in product photography.
Best option:
- Natural window light from the side
- Soft, even lighting
- Avoid harsh midday sun
- Use a sheer curtain to diffuse light if needed
If shooting at night or in dark rooms:
- Use LED lights with softboxes or diffusers
- Match color temperature (daylight bulbs around 5500K)
📌 Avoid using built-in flash — it creates harsh shadows and glare.
4. Set Up Your Background
A clean background keeps the focus on your product.
Options:
- White foam board or paper roll (classic and professional)
- Lightbox (great for small products)
- Wood, marble, or fabric textures for styled shots
- Colored paper for vibrant branding
📌 Make sure the background is wrinkle-free and consistent across shots.
5. Use a Tripod or Stable Surface
Camera shake = blurry images. Use a tripod or place your camera on a steady surface.
- Tripod with adjustable height gives best control
- Smartphone holders with tripod thread are affordable and effective
- Use a self-timer or remote shutter to avoid touching the camera during the shot
📌 Stability is key for sharp, professional-looking results.
6. Position and Style the Product
Think like a customer. What do they need to see to make a decision?
Tips:
- Clean the product — dust and smudges show up in photos
- Show the product from multiple angles
- Capture close-ups of important details
- Show scale (add hand or everyday object)
- Create styled scenes (e.g., mug on a tray with a book and flowers)
📌 Keep styling minimal and on-brand — the product should be the star.
7. Use Reflectors to Control Shadows
Control shadows and balance lighting using DIY reflectors.
- Place white foam board or paper opposite the light source
- Bounce light back onto the product to reduce dark areas
- Add black boards for controlled contrast or moodier shots
📌 Move reflectors closer or farther away to adjust the light fill.
8. Shoot in Manual or Pro Mode
Control exposure for clean, sharp shots.
Settings to try:
- Aperture: f/4–f/8 for sharpness
- ISO: 100–400 (keep it low for clean images)
- Shutter speed: Use a tripod for slower speeds
- White balance: Set based on light source (or correct in editing)
📱 On smartphones, use camera apps with manual mode like Halide or ProCamera.
9. Keep Your Photos Consistent
Consistency builds brand identity and professionalism.
Maintain:
- Same lighting setup
- Same background or surface
- Similar angles and cropping
- Same editing style or filter
📌 Create a style guide if you’re shooting for a business or e-commerce store.
10. Edit Your Photos (Lightly and Professionally)
Even great photos benefit from editing.
Use:
- Lightroom (desktop or mobile): Adjust exposure, contrast, white balance
- Snapseed: Crop, remove blemishes, adjust color
- Photoshop: Retouching, removing backgrounds
Editing checklist:
- Brighten image slightly
- Fix white balance
- Remove dust or distractions
- Sharpen for clarity
- Ensure colors match the real product
📌 Avoid overediting — your product should look true to life.
11. Optimize for Web Use
When uploading to websites or marketplaces:
- Export in JPEG format
- Resize for faster load times (e.g., 1500–2000px on the long edge)
- Use sRGB color profile
- Name files with keywords (e.g., “handmade-ceramic-mug.jpg”)
📌 Clear, optimized images help your SEO and boost discoverability.
Final Thoughts: Simplicity Sells
You don’t need a professional studio or expensive equipment to take stunning product photos. What you need is:
- Great lighting
- Clean background
- Attention to detail
- Consistent presentation
With some patience and creativity, you can produce product photos that look professional — all from the comfort of your home.
