Indoor photography may seem limiting, especially if you’re used to shooting outdoors in natural light. But with a little knowledge and creativity, you can take beautiful, well-lit, and compelling photos indoors — even with minimal equipment.
In this guide, we’ll walk you through the challenges and advantages of indoor photography, how to work with light inside, how to compose great shots, and techniques for portraits, product photography, food, and more.
1. Understand the Challenges of Indoor Photography
Shooting indoors can present a few common obstacles:
- Low light: Windows provide less light than the sun, especially on cloudy days.
- Mixed lighting: Artificial bulbs (yellow, white, blue) can create strange color casts.
- Limited space: Small rooms and tight corners limit movement and angles.
- Cluttered backgrounds: Indoors are full of furniture, objects, and distractions.
But don’t worry — each challenge has a solution.
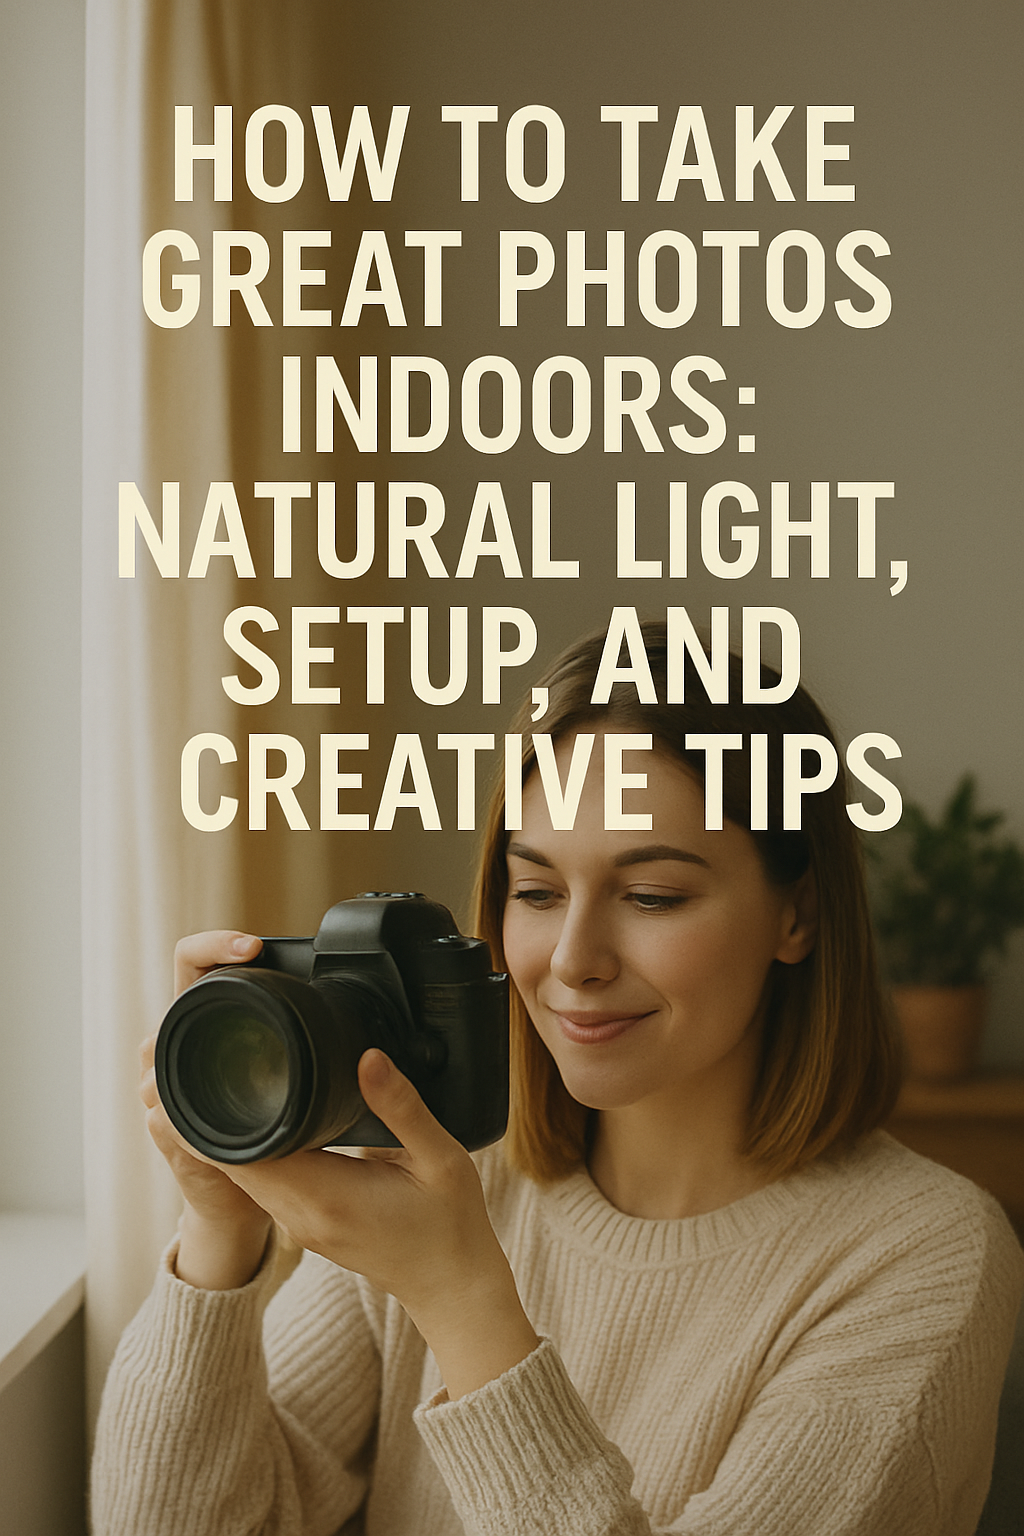
2. Use Natural Window Light
Your best friend indoors is window light. It’s soft, directional, and free.
Tips for using window light:
- Shoot near large windows without direct sunlight (soft shadows).
- North-facing windows provide consistent, cool light.
- Use sheer curtains to diffuse harsh rays.
- Turn off ceiling lights to avoid mixed color tones.
📌 Pro tip: Position your subject 45 degrees to the window for gentle side lighting, or directly facing the window for soft, even light.
3. Control the Light With Simple Tools
You don’t need a full lighting kit to control indoor light — just a few household items:
- White reflector (or foam board) to bounce light onto the shadow side.
- Black board or fabric to absorb light and create contrast.
- DIY diffuser: A white shower curtain, wax paper, or thin bedsheet.
- Lamp + white paper for artificial soft light if needed.
Avoid using your camera’s built-in flash — it produces harsh, flat lighting.
4. Adjust Your Camera Settings for Indoors
Since light is usually lower indoors, your camera needs different settings.
Recommended settings:
- Aperture: Wide open (f/1.8–f/2.8) to let in more light.
- Shutter speed: Keep it above 1/60s if handheld (use tripod for slower).
- ISO: Start at ISO 400–800 and increase if needed.
Use Aperture Priority Mode (A or Av) if you’re not yet shooting manually.
📱 Smartphone Tip: Use Pro Mode to control ISO and shutter speed. Many apps allow manual settings.
5. Choose the Right White Balance
Mixed lighting indoors can lead to strange color casts (e.g., too yellow or too blue).
- Daylight: ~5500K (white light)
- Incandescent bulbs: ~2700K (warm orange light)
- Fluorescent: ~4000K (green/blue)
If your camera allows, set white balance manually or use Auto and adjust in editing.
6. Clean and Simplify the Background
Indoors, it’s easy for the background to distract from your subject.
Ways to simplify:
- Remove clutter (books, chargers, dishes).
- Use plain walls, curtains, or furniture as clean backgrounds.
- Blur the background using a wide aperture or Portrait Mode.
- Use shallow depth of field to isolate your subject.
✅ Pro tip: A bedsheet, rug, or wooden table can double as a backdrop.
7. Use Composition to Your Advantage
Good composition matters even more indoors where space is tight.
Try:
- Framing your subject with doorways or furniture
- Rule of thirds: Use gridlines to position your subject
- Symmetry: Use room elements for balance
- Reflections: Use mirrors creatively
Don’t be afraid to move furniture or shoot from unusual angles (above, low, sideways).
8. Indoor Portrait Photography Tips
Portraits indoors are easier when your subject is comfortable.
- Face them toward a large window for flattering light.
- Use side light for depth and soft shadows.
- Place a white reflector or wall opposite the window.
- Use props like coffee mugs, books, or plants for natural posing.
- Capture candids — laughter, thoughtfulness, or interaction with surroundings.
📱 Smartphones with Portrait Mode + good window light can yield stunning results.
9. Product and Food Photography Indoors
You can take high-quality commercial-looking shots with just natural light and a setup table.
Setup Ideas:
- Place a table near a window with a plain backdrop.
- Use foam boards to bounce or block light.
- Style your product or plate with textures (fabric, utensils, flowers).
- Shoot from various angles: top-down, 45°, eye level.
Use manual focus and tripod for maximum control and sharpness.
10. Get Creative With Lighting Indoors
Low light can be a limitation — or an opportunity.
Creative indoor lighting ideas:
- Use fairy lights for bokeh in the background.
- Desk lamps as directional light sources.
- Smart bulbs or RGB panels for mood lighting.
- TV or laptop screen for soft glow lighting.
- Candles or lanterns for warm, ambient shots.
Experiment with low-light scenes, silhouettes, and contrast.
11. Edit for Consistency and Clarity
Indoor photos often need extra editing to fix white balance, brighten shadows, or sharpen.
Basic edits to make:
- Adjust exposure and contrast
- Fix white balance (especially if indoor light was yellow or green)
- Use noise reduction at high ISO
- Sharpen details, especially eyes or main subjects
Recommended apps:
- Lightroom Mobile
- Snapseed
- VSCO
Keep editing natural and avoid overdoing skin smoothing or filters.
12. Practice With Everyday Scenes
Some of your most compelling photos can be taken in ordinary indoor moments.
Practice shooting:
- Morning light coming through the blinds
- Someone cooking or reading
- A cup of tea on a textured surface
- Pets sleeping by the window
- Plants catching late afternoon light
📌 You don’t need a perfect room — just great light and a good eye.
Final Thoughts: Master Light, Not Gear
Indoor photography is about understanding light and space, not about having a studio or expensive equipment.
Start simple:
- Use natural light
- Compose carefully
- Clean your background
- Edit lightly
And most of all — experiment. Try different rooms, times of day, and setups. The more you shoot indoors, the more you’ll realize how much storytelling power lies within four walls.