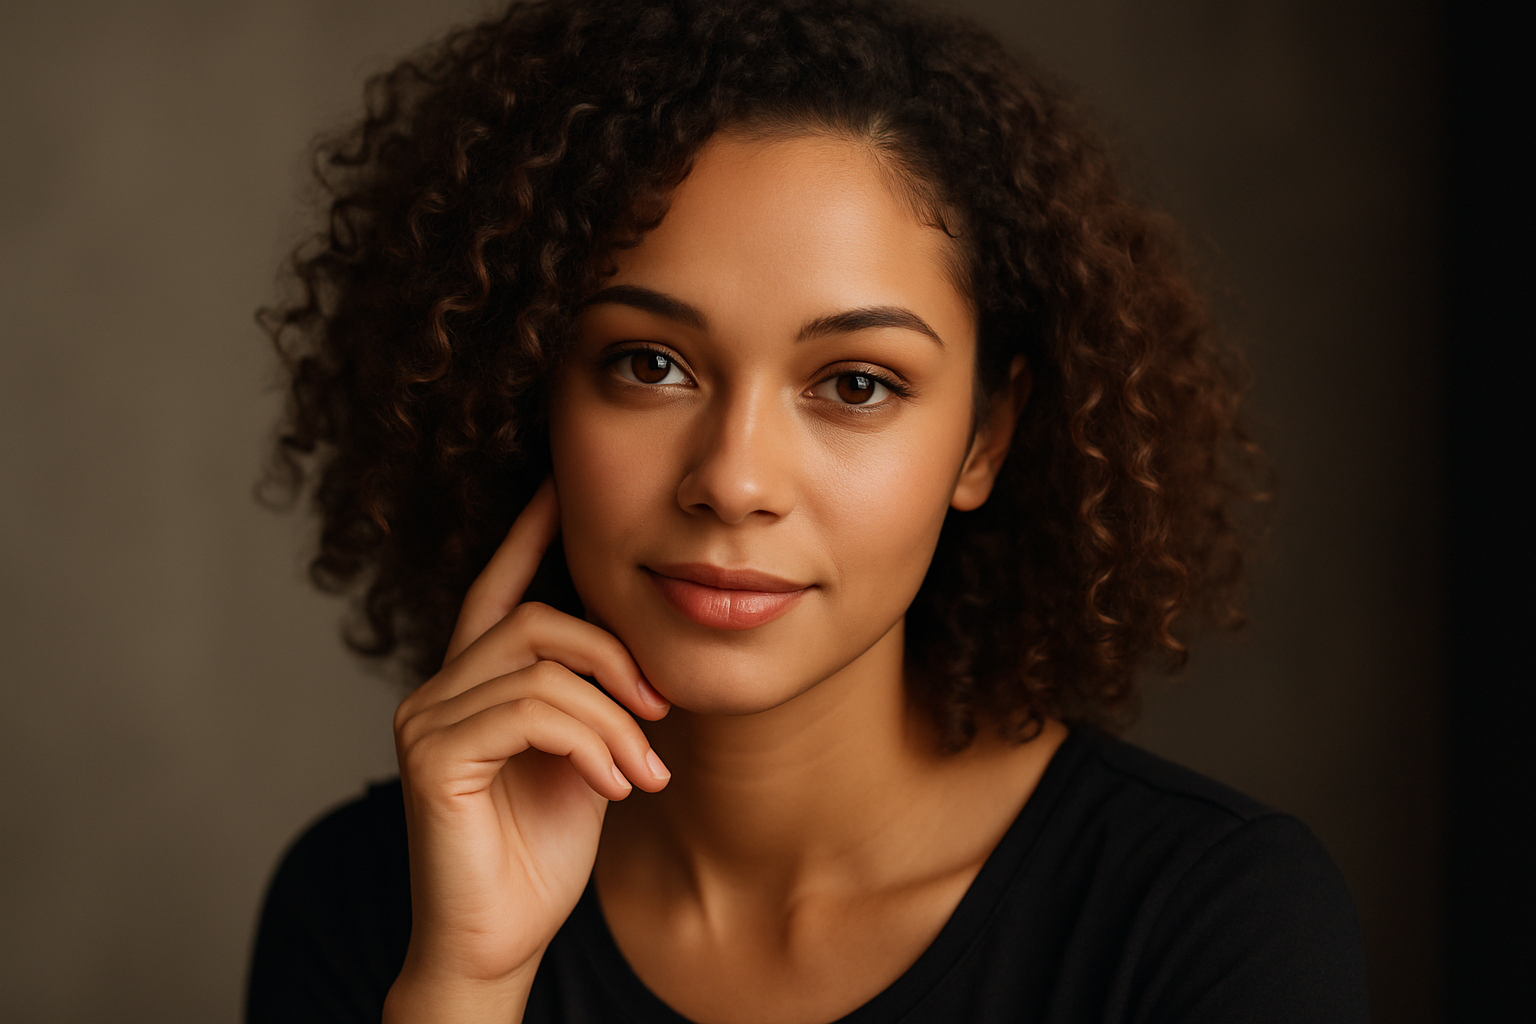
Portrait photography is about more than just pointing the camera at someone’s face. It’s about capturing emotion, personality, and connection. Whether you’re using a DSLR, mirrorless camera, or even a smartphone, mastering the basics of portraiture will dramatically improve your results.
In this beginner-friendly guide, you’ll learn the key elements of taking compelling, professional-looking portraits.
What Makes a Great Portrait?
A strong portrait typically includes:
- Clear focus on the eyes
- Flattering light that enhances features
- Strong composition
- A sense of emotion or storytelling
- A clean or intentional background
Let’s dive into how to achieve these elements step by step.
1. Choose the Right Lens
Lens choice affects how your subject looks and how much background is visible.
Recommended Lenses:
- 50mm f/1.8 – Great starter lens for natural-looking portraits
- 85mm f/1.8 – Classic portrait lens with soft background blur
- 35mm f/1.8 – Good for environmental portraits (includes background context)
- For smartphones: use Portrait Mode
Longer focal lengths (70mm–135mm) compress features slightly, which is often more flattering for faces.
2. Focus on the Eyes
The eyes are the most expressive part of a portrait. Always ensure they are sharply in focus.
Tips:
- Use single-point autofocus and place it on the eye closest to the camera.
- Use Eye-AF if your camera supports it.
- With shallow depth of field (like f/1.8), even slight misfocus can ruin a shot.
3. Master Light Positioning
Lighting can dramatically change how your subject appears.
Natural Light Tips:
- Use soft window light from the side for gentle shadows.
- Shoot during golden hour (early morning or late afternoon) for warm, even tones.
- Overcast days provide diffused light, perfect for outdoor portraits.
Simple Light Setups:
- Rembrandt lighting: creates a triangle of light on one cheek.
- Butterfly lighting: places the light above and in front, creating a butterfly-shaped shadow under the nose.
Use a reflector to bounce light onto the face and soften shadows.
4. Compose With Intention
Great portraits use deliberate framing and angles.
Try:
- Rule of Thirds: Place the subject’s eyes on the upper third of the frame.
- Fill the Frame: Get close for intimacy and impact.
- Negative Space: Leave room around the subject for visual breathing space.
Avoid cutting limbs at joints (elbows, knees) and give the subject “looking space” if they’re not facing the camera.
5. Direct and Pose the Subject
Posing is a skill — it should feel natural, not stiff.
Beginner Posing Tips:
- Have them turn their body slightly sideways and look toward the camera.
- Ask them to drop their shoulders and breathe to relax tension.
- Let hands do something: hold a prop, adjust clothing, or touch the face lightly.
- Use expressions: laughter, smiles, or even a serious gaze all tell different stories.
Give positive feedback often — it builds confidence and trust.
6. Use Background to Your Advantage
A cluttered or distracting background can ruin a portrait.
Improve backgrounds by:
- Using a wide aperture (like f/1.8) to blur it out.
- Choosing plain walls, nature, or lightly textured backdrops.
- Creating depth by separating the subject from the background.
In tighter spaces, a backdrop or curtain can work wonders.
7. Control Depth of Field
A blurred background (aka bokeh) draws attention to your subject.
Use:
- Wide aperture (f/1.8, f/2.0)
- Longer focal length
- More distance between subject and background
But be careful — too shallow a depth of field may blur parts you want sharp.
8. Watch the Details
Little things make a big difference:
- Clean up hair strands or wardrobe issues before shooting.
- Check for distracting elements in the frame.
- Pay attention to hand and body positioning.
- Use continuous shooting mode to capture natural expressions.
The fewer edits you need later, the better.
9. Shoot in RAW Format (If Possible)
RAW files retain more detail and are easier to adjust in editing.
Even with basic software like Lightroom or Snapseed, you’ll get better control over:
- Exposure
- White balance
- Skin tones
- Shadows and highlights
If you can’t shoot RAW, ensure you expose well in-camera to minimize editing issues.
10. Practice with Every Face
Every face is different — the best way to improve is to shoot often and review your work.
Try practicing with:
- Friends and family
- Different skin tones and facial features
- Different lighting situations (indoors, outdoors, cloudy, sunny)
- People of different ages (children, adults, seniors)
Each face teaches you something new about posing, light, and connection.
Final Thoughts: Portraits Are About People, Not Just Pictures
The best portraits do more than capture appearance — they tell a story. They show character, vulnerability, strength, or joy.
As a beginner, focus on connecting with your subject. Make them comfortable. Laugh, talk, and let the camera disappear in the moment.
With practice and patience, your portraits will not just look better — they’ll feel more alive.
