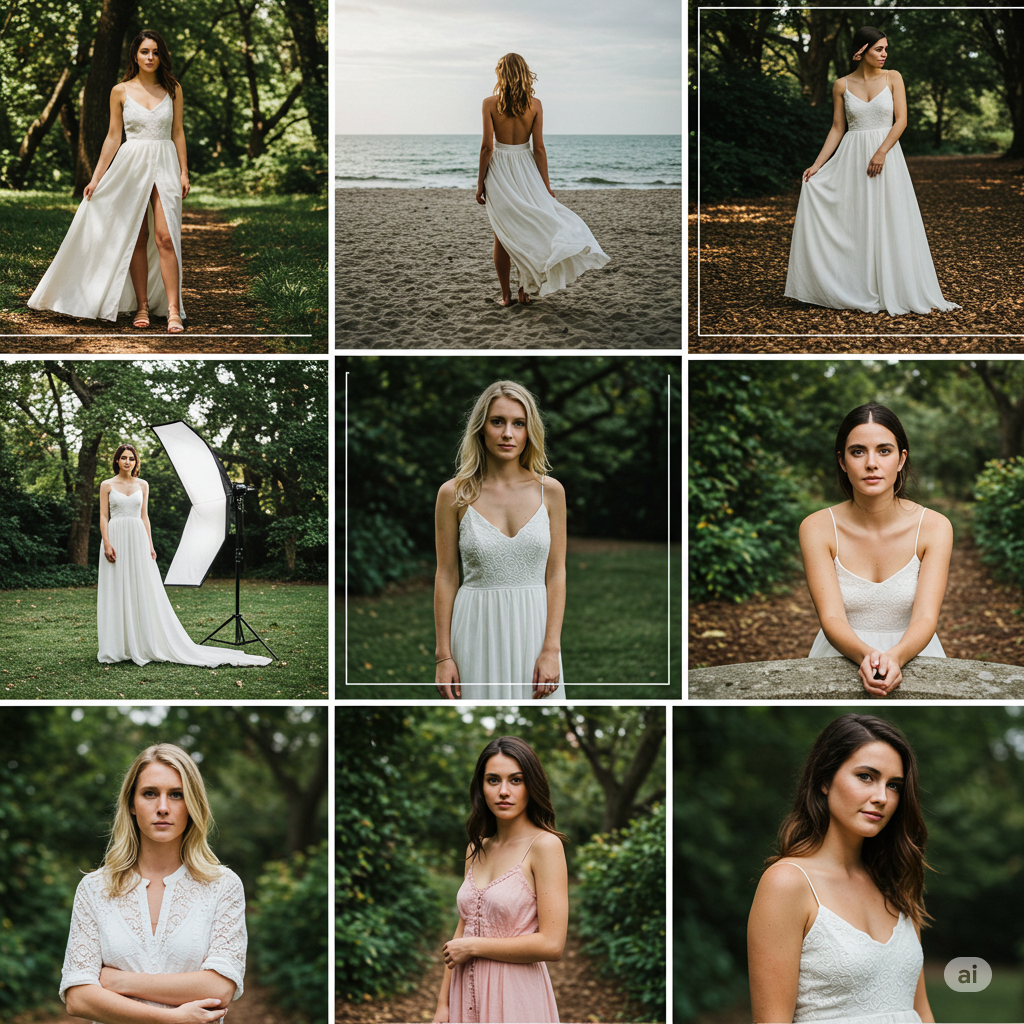
Great portrait photography doesn’t require expensive gear or studio lighting. In fact, some of the most beautiful and emotional portraits are taken using only natural light. It’s free, readily available, and — when used intentionally — can help you create stunning, professional-quality portraits in any setting.
In this complete beginner’s guide, you’ll learn how to see, control, and shape natural light for portrait photography. Whether you shoot with a DSLR, mirrorless, or smartphone, these techniques will help you elevate your portraits immediately.
1. Why Natural Light Is Perfect for Portraits
Natural light is dynamic, soft, and often more flattering than flash. Here’s why it’s a great choice, especially for beginners:
- Free and accessible — no need for lighting equipment
- Soft and directional when used properly
- Ideal for candid, relaxed portraits
- Can be used both indoors and outdoors
- Allows for fast, simple setups
📌 The key is to understand how to work with the light — not just under it.
2. Types of Natural Light for Portraits
Natural light comes in different qualities depending on the time of day, location, and weather. Understanding these helps you choose the best light for your shoot.
☀️ Golden Hour (Best Choice)
- 1 hour after sunrise or before sunset
- Soft, warm light
- Long shadows and flattering skin tones
- Ideal for romantic or cinematic portraits
☁️ Overcast Light
- Cloudy skies act as a natural softbox
- Even, diffused light
- No harsh shadows
- Great for high-contrast skin or colorful clothing
☀️ Midday Sun (Challenging)
- Harsh and direct light from above
- Creates hard shadows and blown highlights
- Use open shade or reflectors to manage
🌇 Blue Hour
- Just before sunrise or after sunset
- Cool, moody light
- Ideal for silhouette portraits or dramatic city shots
📌 Avoid shooting in full midday sun unless you plan creatively around it.
3. Positioning Your Subject: Directional Light
Light direction changes everything in portrait photography. Experiment with how the light hits your subject.
📸 Front Light
- Light hits directly onto the subject’s face
- Even exposure and minimal shadows
- Safe, but can be flat and boring
📸 Side Light
- Light comes from the side of the subject
- Adds depth and dimension
- Highlights facial features
📸 Back Light
- Light comes from behind the subject
- Creates glow or rim lighting
- Good for hair light, silhouettes, or dreamy aesthetics
📌 Try different angles to find the most flattering look — small shifts make a big difference.
4. Use Window Light Indoors
You don’t need to go outside to use natural light. A window is a perfect indoor light source.
Tips:
- Use north-facing windows for consistent soft light
- Pull subject close to the window and turn off overhead lights
- Use sheer curtains to diffuse light
- Position the subject at 45 degrees to the window for dimension
- Use a white wall or reflector opposite the window to bounce light
📌 Avoid direct sunlight hitting the subject indoors — it can create unflattering hotspots.
5. Use Reflectors for Better Control
Reflectors help bounce light onto your subject’s shadow side, creating a more balanced exposure.
Types of reflectors:
- White: Soft, natural light
- Silver: Bright, contrasty light
- Gold: Adds warmth (ideal for golden hour)
- Black: Absorbs light, adds drama (for shaping light)
📌 DIY: Use a white foam board, poster board, or even a bed sheet as a reflector.
6. Background and Environment Matter
In portraiture, your subject is the focus — but the background contributes to the story and mood.
Choose backgrounds that are:
- Uncluttered and simple
- Complementary to the subject’s clothing or skin tone
- Blurred (using shallow depth of field or Portrait Mode)
- Filled with texture or soft colors
📌 Watch for distractions: signs, poles, trash bins, or unwanted people in the frame.
7. Camera Settings for Natural Light Portraits
Getting the right settings ensures sharp, beautiful results.
DSLR or Mirrorless (Manual or Aperture Priority):
- Aperture: f/1.8–f/4 for creamy background blur
- Shutter Speed: 1/125s or faster (use 1/250s+ for kids or pets)
- ISO: 100–400 (outdoor), 800+ (indoors or cloudy)
- White Balance: Use Daylight or Cloudy presets
Smartphone:
- Use Portrait Mode for background blur
- Tap to expose for the face
- Adjust brightness manually if needed
📌 If your subject is moving, increase shutter speed or ISO to avoid motion blur.
8. Posing for Natural Light Portraits
The best natural light portraits often feel authentic and relaxed. Keep poses simple and natural.
Tips:
- Turn the body slightly away from the camera
- Keep the face turned toward the light
- Use natural expressions — laughter, thinking, soft smiles
- Let hands interact with hair, clothing, or props
- Guide your subject gently, or encourage movement for candid expressions
📌 Show them a few shots as you go — it helps build confidence and trust.
9. Common Mistakes to Avoid
❌ Shooting in direct sunlight without shade
Use open shade, or wait for golden hour
❌ Ignoring harsh shadows on the face
Watch how shadows fall across the nose, eyes, and neck
❌ Overexposing the background
Use exposure compensation or manual mode to keep the scene balanced
❌ Standing too far from the light source indoors
The farther from the window, the less flattering the light becomes
📌 Always review your photos mid-shoot to adjust in real time.
10. Practice Exercises to Master Natural Light
Exercise 1: Golden Hour Portraits
- Shoot during sunrise or sunset
- Try backlighting for glow, then turn the subject to face the light
Exercise 2: Window Light Portrait
- Set up a chair next to a window with a sheer curtain
- Pose yourself or a model and take shots from different angles
Exercise 3: Open Shade Challenge
- Go outdoors at noon
- Find soft shade under a tree, porch, or building
- Adjust white balance and composition for best results
📌 Analyze shadows, reflections, and light direction in every setting you try.
Final Thoughts: Make Light Your Partner, Not Your Obstacle
The best photographers don’t just use light — they understand it. Natural light is an incredibly powerful, expressive tool when you learn how to work with it.
- Embrace the time of day
- Position your subject intentionally
- Use soft reflectors and backgrounds
- Practice in different environments
With each shoot, your ability to see and shape natural light will improve — and so will the quality and emotional depth of your portraits.