Lighting is one of the most powerful tools in photography. It shapes your image, sets the mood, and determines how subjects appear. Even with the best camera or lens, poor lighting can ruin a shot — but with good lighting, even a basic setup can produce stunning results.
This guide breaks down the fundamentals of photography lighting for beginners and gives you practical tips for using natural and artificial light effectively.
Why Lighting Matters in Photography
Light affects:
- Exposure (brightness and contrast)
- Color temperature (warm vs. cool tones)
- Mood (dramatic, soft, flat, mysterious)
- Depth and texture (through shadows and highlights)
Learning to see and control light will give you more creative power than any gear upgrade.
Types of Light Sources
☀️ Natural Light
Comes from the sun or reflected sunlight (windows, sky, etc.)
Advantages:
- Free and widely available
- Soft and flattering when diffused
- Constant changes offer creative variety
Challenges:
- Hard to control
- Changes with time and weather
💡 Artificial Light
Includes LED panels, flashes, lamps, and studio lighting.
Advantages:
- Full control over intensity and direction
- Consistent for indoor or studio work
- Ideal for portraits, product shots, and videos
Challenges:
- Requires investment in gear
- Can look unnatural without practice
Key Lighting Concepts
1. Direction of Light
Where the light comes from dramatically changes your photo.
- Front Light: Flat, even lighting with few shadows. Great for showing detail, but less dramatic.
- Side Light: Adds depth and texture. Reveals shape and gives portraits a 3D feel.
- Back Light: Creates silhouettes or rim light around the subject. Great for drama and glow.
- Top Light: Can cause harsh shadows under the eyes or nose. Useful for product photos or moody effects.
- Bottom Light: Rarely flattering — often used for artistic or spooky effects.
2. Quality of Light
Refers to how soft or hard the light appears.
- Hard Light: Sharp shadows, high contrast. Comes from a small or direct source (e.g., noon sun, bare bulb).
- Soft Light: Diffused shadows, gentle transitions. Comes from a large or diffused source (e.g., cloudy sky, softbox, white curtain).
3. Color Temperature
Measured in Kelvin (K), it affects the mood of your image.
- Warm light (lower K): 2000K–3500K (candles, sunrise/sunset) – cozy, nostalgic
- Neutral light: 4500K–5500K (daylight) – balanced and natural
- Cool light (higher K): 6000K–7500K (shade, cloudy sky) – clean, clinical, moody
You can adjust color temperature in-camera or during editing to correct or stylize your photo.
Using Natural Light Effectively
Indoors:
- Shoot near a window with diffused light (add a white curtain if needed).
- Use reflectors (or white paper/walls) to bounce light onto the subject.
- Avoid direct midday sun, which can cause harsh shadows indoors.
Outdoors:
- Shoot during Golden Hour (shortly after sunrise or before sunset).
- Use open shade to get even, soft light (e.g., under trees or awnings).
- For backlit portraits, expose for the subject or use a fill light/reflector.
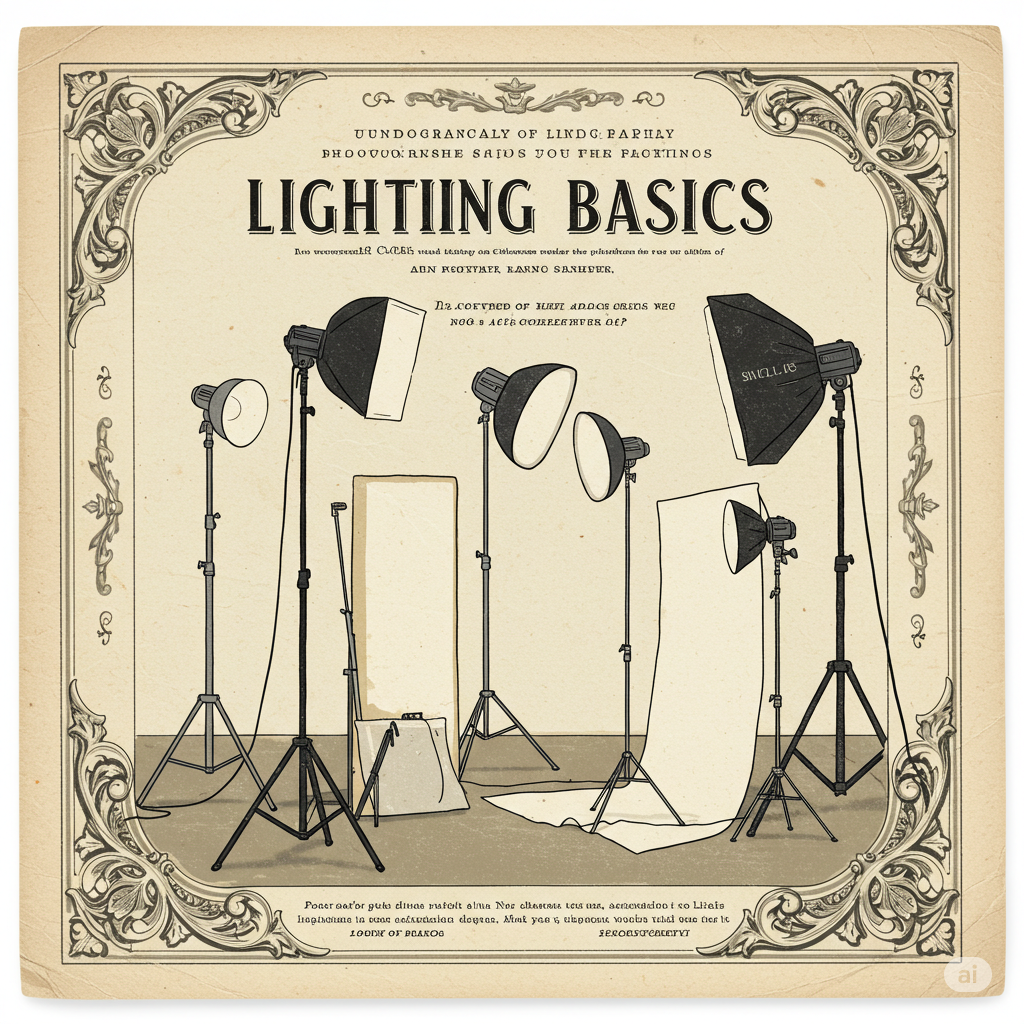
Basic Artificial Lighting Setups
One-Light Setup (Best for Beginners)
Use one soft light source like:
- LED panel with a diffuser
- Ring light
- Softbox
Place the light at a 45° angle from your subject’s face for natural, flattering shadows. Add a white reflector on the opposite side to fill shadows.
Two-Light Setup
- Key Light: Main light source
- Fill Light: Softer light to reduce harsh shadows from the key
Place them at angles to create dimension. Keep the fill light less intense than the key for depth.
Three-Point Lighting (Classic Studio Setup)
- Key Light – primary illumination
- Fill Light – balances shadows
- Back Light (or Rim Light) – separates subject from background, adds depth
Used in portraits, product shots, and video interviews.
Lighting Accessories to Consider
- Reflectors: Bounce light back onto your subject; affordable and versatile.
- Diffusers: Soften harsh light (white umbrellas, softboxes, translucent sheets).
- Light Stands and Tripods: Keep your light steady.
- Gels: Add color effects to artificial lights.
- Flash/Speedlights: Portable, powerful, and perfect for on-camera lighting.
Lighting Tips for Beginners
- Start simple – You don’t need expensive gear to learn light.
- Observe shadows – They tell you everything about light direction and quality.
- Shoot in different conditions – Try morning, midday, golden hour, and cloudy weather.
- Use what you have – Lamps, white foam boards, and even a smartphone flashlight can be used creatively.
- Watch tutorials – There are endless free resources showing setups with minimal gear.
- Practice with objects – Try lighting fruit, a mug, or a book to study how shadows form.
Final Thoughts: Light Is Your Creative Superpower
More than your camera, your lens, or even your editing — light defines your image. Learn to observe it, shape it, and use it intentionally. Even small improvements in lighting can make a massive difference in how professional your photos look.
Start with the light available to you. With every shot, ask yourself:
- Where is the light coming from?
- How soft or hard is it?
- What emotion or story does it tell?
Answer those, and you’re already thinking like a photographer.