Composition is one of the most powerful — and overlooked — tools in photography. And the Rule of Thirds is one of the first concepts every beginner should master. It’s simple, effective, and used by professionals across all genres of photography, from portraits to landscapes, still life to street scenes.
In this guide, you’ll learn what the Rule of Thirds is, how it works, when to use it (and break it), and how applying this technique can dramatically improve your photos — whether you’re using a camera or a smartphone.
What Is the Rule of Thirds?
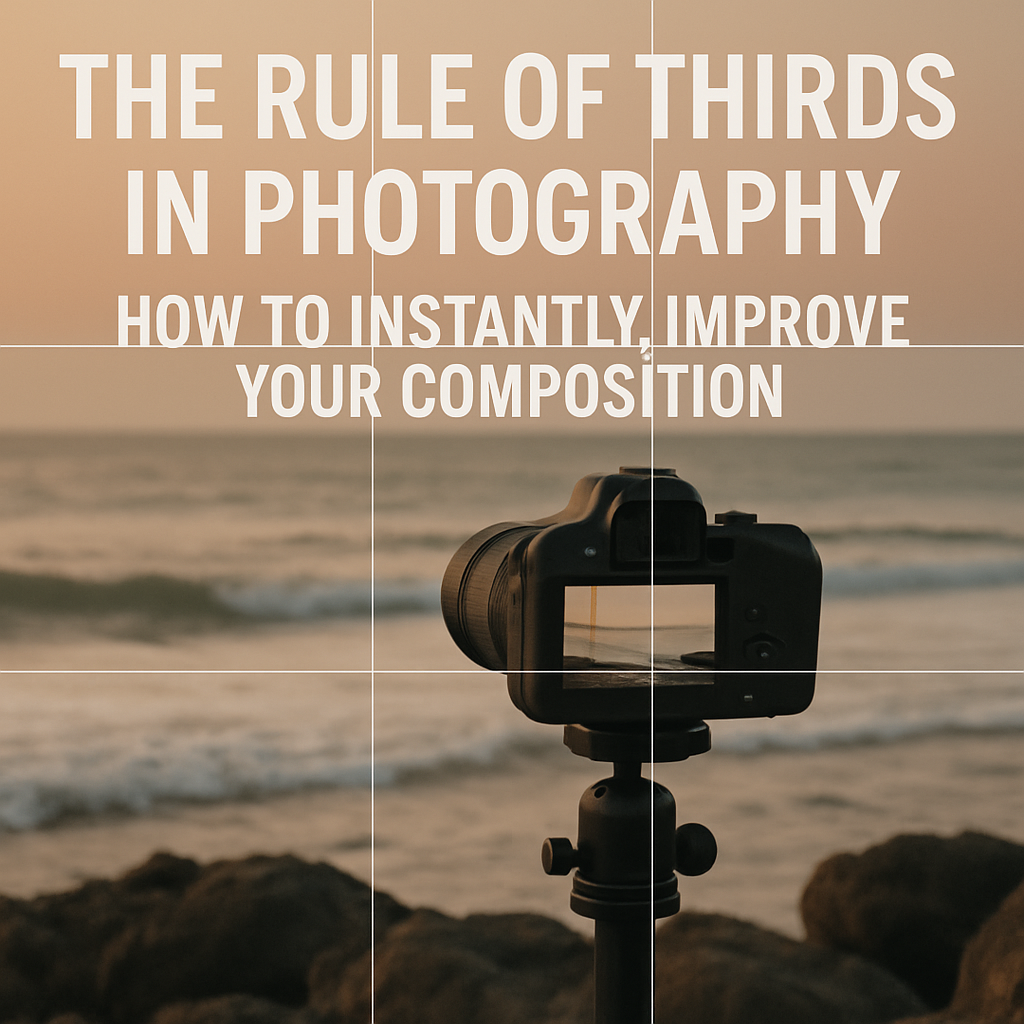
The Rule of Thirds is a composition guideline that divides your image into a 3×3 grid — three equal sections horizontally and vertically.
This creates four intersection points where the lines cross, and those points are ideal places to position your subject or key elements of your photo.
Instead of placing the subject dead center, the Rule of Thirds encourages you to shift your composition slightly — often leading to more balance, interest, and visual tension.
Why the Rule of Thirds Works
The human eye naturally follows lines and looks for balance. When an element is placed off-center, our eyes move across the image, exploring it more deeply.
Benefits:
- Creates dynamic tension
- Guides the viewer’s gaze
- Adds a sense of movement or space
- Feels more natural and less static than centered framing
It’s used in photography, painting, design, and even cinematography — because it works.
How to Use the Rule of Thirds in Practice
1. Turn On the Grid
Most cameras and smartphones allow you to turn on a grid overlay.
- On smartphones: Look for “grid” or “guidelines” in camera settings
- On DSLRs/mirrorless: Many offer electronic viewfinder overlays or LCD grid options
This makes it easier to visualize the thirds and align your subject accordingly.
2. Position Key Elements Along the Lines
Place important parts of your photo along the horizontal or vertical grid lines.
Examples:
- The horizon placed along the top or bottom third
- A tree or person aligned with the left or right vertical line
This divides the scene naturally and helps avoid awkward “middle-heavy” shots.
3. Place the Subject at an Intersection Point
The intersection points of the grid (where the vertical and horizontal lines meet) are the most powerful areas to place your subject.
Examples:
- A person’s eye in a portrait
- The sun or moon in a landscape
- A focal object in a still life or street scene
This gives your subject prominence while leaving room for the environment.
4. Balance With Empty Space
The Rule of Thirds helps you leave negative space (empty space) that balances the composition and allows breathing room.
Examples:
- A person looking toward the empty side of the frame
- A bird flying into open sky
- A product shot with space for text or branding
Negative space is often just as important as the subject itself.
Rule of Thirds in Different Photography Styles
🧑 Portrait Photography
- Place the eyes on the upper third line
- Shift the face slightly to one side
- Use background or foreground lines to guide the viewer’s eye
🌅 Landscape Photography
- Place the horizon on the bottom or top third (not centered)
- Align key elements like trees, mountains, or people on vertical lines
🛍️ Product or Food Photography
- Place the product at a point of intersection
- Leave space around for props, environment, or text
🏙️ Street and Travel Photography
- Use buildings or roads to align along thirds
- Place people or vehicles walking into the frame with space ahead of them
When to Break the Rule of Thirds
Rules are tools — not limits. Once you understand why the Rule of Thirds works, you can start to break it with purpose.
Break it when:
- You want symmetry (e.g., reflections, architecture, centered faces)
- You want a feeling of stillness or balance
- You’re creating minimalism or central focus
- You’re using leading lines that draw directly to the middle
📸 Pro tip: Learn the rule. Master it. Then break it intentionally.
Common Mistakes to Avoid
❌ Misplacing the horizon
Avoid placing the horizon too close to the center unless you’re emphasizing symmetry.
❌ Ignoring the environment
Don’t just place your subject in a third — consider how the rest of the scene complements them.
❌ Overthinking it
Use the grid as a guide, not a cage. Composition should enhance, not restrict your creativity.
Practice Exercises
🧪 Exercise 1: Reframe Old Photos
Go through your old shots and crop them using the Rule of Thirds. See how the feel of the image changes.
📸 Exercise 2: One Subject, Multiple Compositions
Take one subject (a person, object, or scene) and photograph it:
- Centered
- On the left third
- On the right third
- With the subject facing into negative space
Compare the mood of each.
Bonus: Combining With Other Composition Techniques
The Rule of Thirds works beautifully with other tools like:
- Leading lines (roads, railings)
- Framing (windows, doors)
- Depth (foreground, midground, background)
- Color contrast and patterns
Mastering these alongside the Rule of Thirds will supercharge your visual storytelling.
Final Thoughts: Let the Grid Guide You, Not Trap You
The Rule of Thirds is a foundational concept — a simple shift in perspective that can immediately elevate your work. It teaches you to think about balance, flow, and space, rather than just pointing and shooting.
Use it to train your eye. Practice until it becomes second nature. Then let your intuition — backed by technique — lead the way.
Your best photos come not from rules, but from purpose. And the Rule of Thirds is the perfect place to begin building that purpose.